
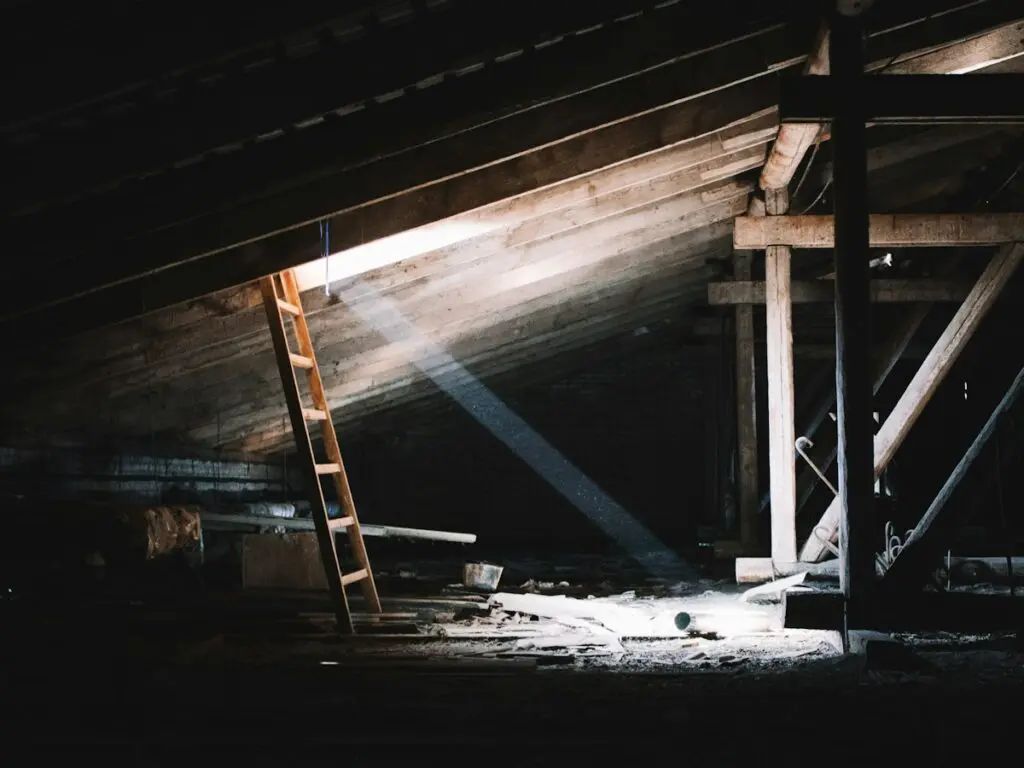
A brown ceiling spot after a Bradenton afternoon storm can send you searching for how to find roof leak entry points. A ceiling stain does not reliably show where water entered your roof. Start with attic evidence, then ground-level checks, without climbing onto the roof.
Gather what you need before checking
Gather a flashlight or headlamp, charged phone, tape measure, paper, pencil, binoculars, and a bucket for safe indoor containment. Allow 30-45 minutes, but stop sooner if conditions are unsafe.
You need a stable attic-access ladder and a secure walkway or suitable exposed framing. Ceiling drywall cannot support your weight. If you cannot identify safe footing, stay at the opening.
Keep your investigation indoors or at ground level. Skip roof walking, homeowner hose tests, and improvised tarping.
Step 1: contain the drip and check whether the roof is the source
Move belongings and catch drips only where access is safe. Photograph damage before cleanup when practical, without delaying urgent protection.
Compare the timing with rainfall, upstairs plumbing use, and AC operation. Look for accessible plumbing leaks or condensate drainage clues without opening equipment. Condensation can also mimic roof leakage.
Note stains, peeling paint near the roofline, and musty odors. Persistent moisture can damage drywall, reduce insulation performance, and encourage mold and rot.
Stay away from sagging ceilings, wet electrical fixtures, and spreading water. Never puncture a bulging ceiling.
Check: Establish when water appears and whether plumbing or AC could explain it.
Fix: Stop for unsafe conditions and contact the appropriate roofing, plumbing, HVAC, or electrical professional.
Step 2: inspect the attic without leaving secure footing
Scan the decking, framing, and insulation
Begin at the access opening. Enter only if temperature, visibility, structure, and footing permit a safe check.
Scan the decking, the wood surface beneath your roofing, then visible framing and insulation. Look for damp wood, dark trails along rafters, rusted fasteners, and wet or compressed insulation.
You can have a hidden leak before any ceiling stain appears. But old staining alone does not prove an active leak. Photograph clues without moving insulation, disturbing suspected mold, or touching wiring. Your goal is evidence, not dismantling.
Check: Identify a visible moisture trail or photograph a specific area of concern.
Fix: Stop at the opening if your attic is excessively hot, unstable, contaminated, or difficult to navigate.
Use an upper-interior check when attic access is unavailable
Without attic access, map stains and peeling paint on your uppermost ceiling and walls. Record nearby vents, skylights, bathrooms, and exterior walls.
Do not cut exploratory holes. Your interior photos and measurements give a roofer a useful starting point without attic entry.
Step 3: map the stain and follow the water trail uphill
Measure from fixed reference points
Sketch the affected room and mark the stain’s edges. Measure from two recognizable reference points, preferably exterior walls or an identifiable chimney or vent. Add corresponding attic measurements only where safely accessible.
Wall thickness, overhangs, and roof pitch prevent a simple ceiling-to-roof match. A stain 4 feet from an exterior wall gives you a starting reference, not proof of an opening directly above it.
Follow framing and widen the search sideways
Follow visible water trails uphill, noting roof slope and framing direction. Where a trail crosses a joint, fastener, or insulation edge, inspect adjacent visible framing instead of searching only straight uphill.
Mark nearby vents, skylights, chimneys, valleys, and wall intersections as candidate entry zones. Think of a spill across a tilted countertop: the drip marks an exit, not necessarily the starting point.
Check: Build a search zone supported by measurements and visible clues.
Fix: If the trail disappears, record the last confirmed clue rather than guessing.
Step 4: check the matching roof area from the ground
Inspect transitions, edges, and nearby walls
Use binoculars or phone zoom from stable ground. Look for displaced shingles or tiles, debris-filled valleys, overflowing gutters, and visible damage around vents or skylights.
Flashing is material that seals roof joints and transitions. Intact-looking shingles do not rule out failed flashing, underlayment problems, or wind-driven rain at walls and windows. Compare localized lifted shingles with other clues of storm damage, without attempting close-up roof access.
Record rain intensity, wind direction, and any delay before dripping. A roof that leaks only in heavy rain needs that weather history included in the investigation.
Adjust your search for low-slope roofs and seasonal leaks
For flat or low-slope roofs, flag visible standing water, blocked drainage, and any ground-visible seams or wall edges. Concealed water paths make stain-to-entry mapping less reliable. Leave surface inspection and drain clearing requiring roof access to a professional.
At a cold-climate property, record snowmelt timing and ice buildup at eaves. Never chip ice or heat the roof.
Check: Compare exterior clues with your interior map and weather notes.
Fix: Treat a match as a lead, not confirmation.
Step 5: request targeted testing when the source stays hidden
Use moisture tools to narrow the search
Moisture meters help compare dampness. Infrared cameras reveal temperature differences, not an automatic picture of the leak opening. Request inspection and moisture readings before authorizing repairs based solely on thermal images.
Avoid random caulking, lifting roofing materials, or coating a suspected area. A speculative patch can conceal evidence without fixing the source.
Have a roofer test one small area at a time
Professional testing should establish baseline moisture conditions and protect your interior. An indoor observer needs reliable communication with the roofer.
Controlled water should reach one isolated area at a time, generally progressing from lower areas upward. Allow observation time between areas and record each location, start time, duration, and indoor response.
Avoid pressure spraying, flooding, or testing multiple areas simultaneously. Testing should stop when water appears or damage could increase. A negative result does not exclude an intermittent wind-driven leak.
Check: Seek a repeatable, documented connection between a tested area and indoor moisture.
Fix: Request further diagnosis if results remain inconclusive, not a speculative patch.
Step 6: document the findings and choose your next repair decision
Build a short leak report with dated photos, weather conditions, stain measurements, attic clues, exterior observations, and prior repairs.
Roof leak repair cost depends on the entry detail, material, access, and concealed damage. Request a written diagnosis and itemized local estimate separating detection fees, roof repairs, and interior restoration. A useful price requires a defined repair scope.
Compare your findings with these signs you need roof repair.
Choose repair versus replacement based on overall condition, damage extent, recurring failures, and remaining service life, not one stain or age alone. Use a broader look at roof condition before committing to replacement.
When choosing a Bradenton or Manatee County contractor, verify Florida licensing, insurance, and experience with your roof type. Insurance coverage depends on cause and policy terms; roof leaks are not a standalone claim category.
Start with one useful action today: photograph and measure the stain, if safe.
Frequently asked questions
Can a dry ceiling stain still matter?
Yes. A dry mark can reflect an old repair or an unresolved intermittent leak. Document its edges and compare after rain. You do not need renewed dripping before requesting professional help.
Should you check the attic while rain is falling?
Active rain can reveal a water path, but unsafe access, lightning exposure, excessive heat, and electrical hazards take priority. Observe only from secure footing under safe conditions. Never go onto the roof.
Should you remove wet insulation yourself?
Leave insulation undisturbed during diagnosis, especially around wiring or suspected mold. Arrange appropriate drying or replacement after the source is fixed, with prompt moisture management to limit further damage.
How can you check that the repair worked?
Compare dated photos and moisture readings after suitable rain. Old stains can remain after a successful repair. Arrange follow-up for renewed dampness, and keep checking visible drainage paths from the ground.